
Making cards is a win-win hobby. It gets your creative juices flowing and you'll have a constant supply of cards to give away for holidays, birthdays, celebrations, thanks and more. The money you would spend on store-bought cards can easily keep you in card making supplies... so it's affordable too!The only problem is what to do with all those cards!
Today, I'm offering the cure...
Creative display and organizational solutions!


It
starts slowly...a few cards that you have a hard time parting with. Before you know it you have shoe boxes filled
with your hard work and creativity. It's
a shame. Cards are meant to be seen and used!
I'm not knocking shoe
boxes. They are quite perfect for
storing cards, but at least we can paper craft it! My biggest tip to stay organized with shoe
boxes, depending on how many cards you're organizing is to have dedicated
shoeboxes for themes, or create file tabs to separate those themes in one box.
Despite that, your cards are
still hidden and easily forgotten. There
are some better options.
I'm in the midst of an
office/craft room renovation and am looking for solutions for my 1000s of cards...here
is are some solutions.
1. Pretty &
Practical
Let's face it. Shoeboxes are not pretty (unless you've
decorated if of course). If the goal is
to keep your cards out where you can see them you need to look for something
you don't mind looking at everyday.
First find the place where
you'd like to keep your cards. A kitchen
counter? An office. Bedroom.
Book shelf? Look for someplace
that you see regularly. It's also nice
to keep them where you can write in a card, put it in an envelope, place a
stamp on it and then place in the mailbox.
Yes, those are the four steps! I
can't tell you how many times steps 2, 3 and 4 snag me up! For my situation the office is best, it's
where I spend most of my time. But if
you're a busy Mom, the kitchen might be best.
Keep measurements in mind or
a small tape measure in your purse. Most
cards measure at most 6 " x 6".
Maybe you always do the standard 5 1/2" x 4" size, either way,
you'll want to make sure whatever you do find will fit your cards.

This was my first attempt at
a card file. about 10 years ago. And if you looks closely, you can see the
effects of those 10 years. I was going
to re-do it for you, but decided I wanted you to see it just the way it is!
It works! I have kept this basket out where I can see
it and it's my go-to file for birthday cards.
2. Think
outside the box.
You're still looking for
boxes, or box shapes (because cards are square or rectangular for the most
part), but they don't have to be in the organizational part of the store. I found these decorative drawers in the home
decor section of Hobby Lobby.
Large enough to fit all
sizes, they were perfect for all the cards I made for Paper Crafts Magazine
over the years. I won't be using these
cards, but they are nice to have out, to remember all my hard work and for
instant inspiration.

I found this at Hobby Lobby as well. I love the chalkboard front panel, so I can
mark what's inside the box. No file tabs
necessary for this one because I have that many Christmas cards!

Even without the chalkboard top, the shutter idea is perfect
for cards. Find an old shutter, adhere a
panel to the back to keep the cards from falling out and you'll have room for
lots of cards.

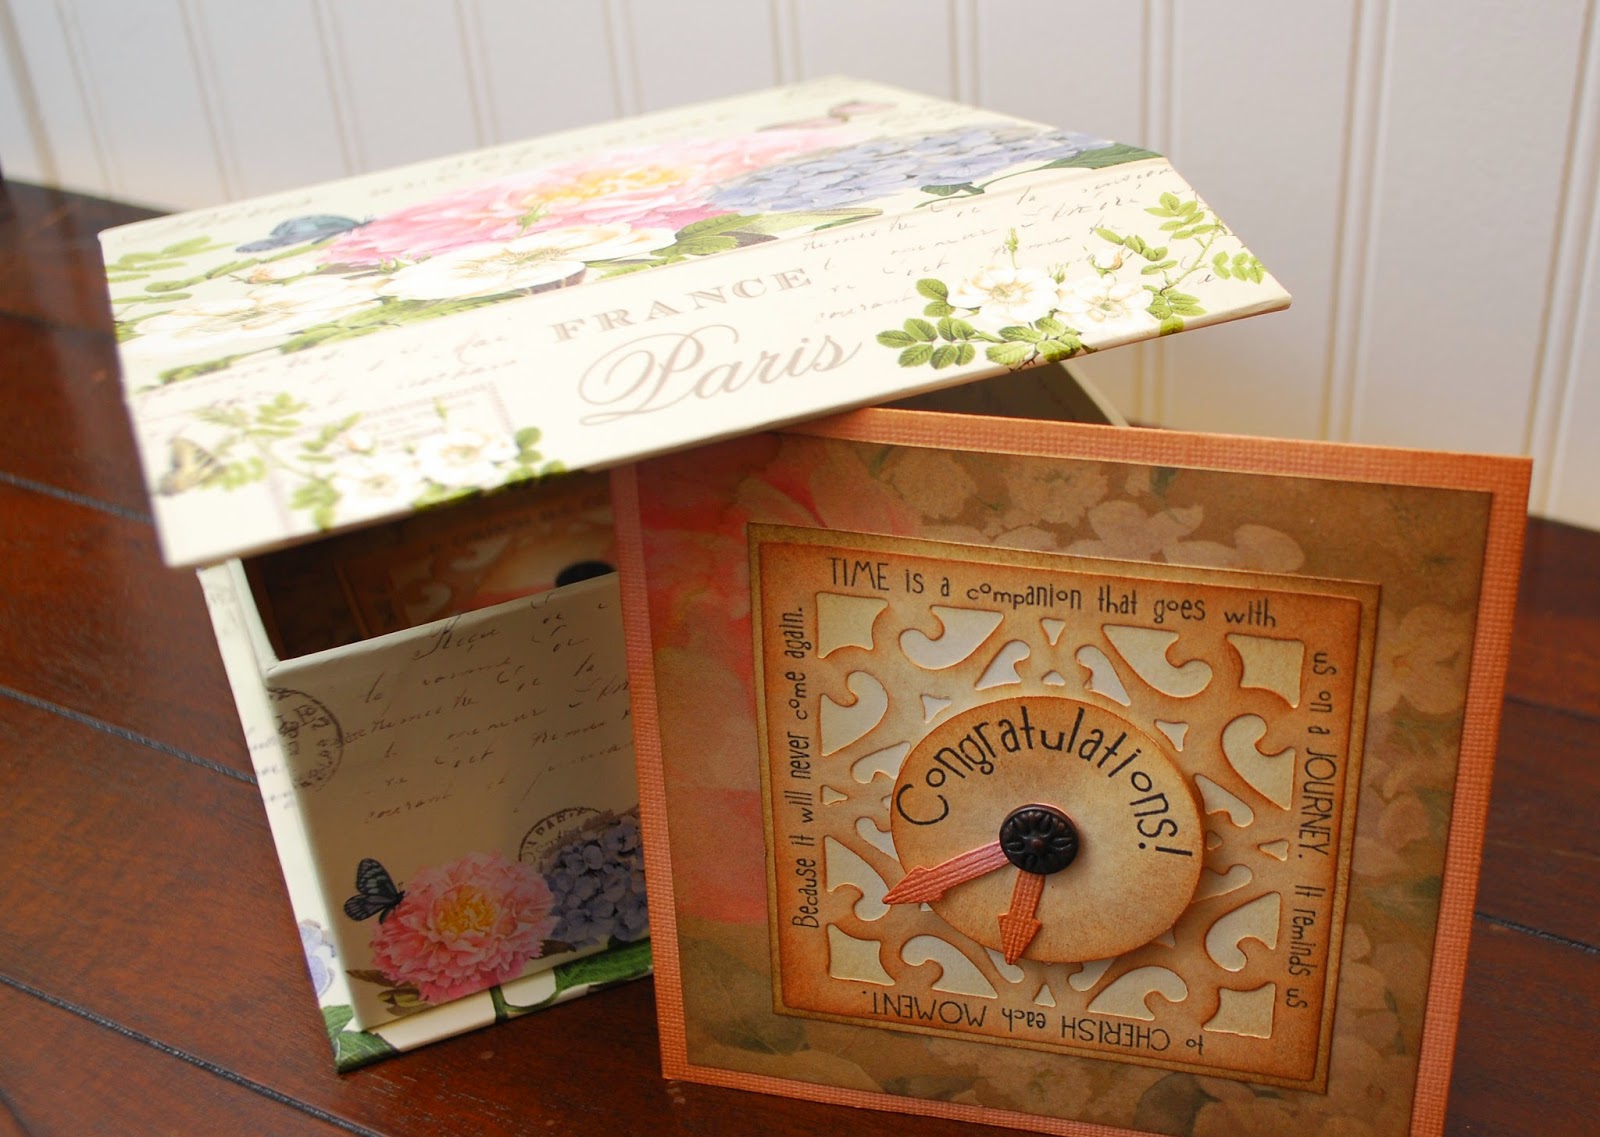
Another find at Michaels was a decorative box that fit large
square cards perfectly. This would also
make a beautiful set of cards you could give as a gift.
 Look everywhere you go!
Hardware store, department store, home decor store, office supply store,
grocery store or the jewelry, wedding, sewing section etc... of a craft store. Or repurpose boxes you get with other
purchases that you can paper craft and alter (like a shoe box :)
Look everywhere you go!
Hardware store, department store, home decor store, office supply store,
grocery store or the jewelry, wedding, sewing section etc... of a craft store. Or repurpose boxes you get with other
purchases that you can paper craft and alter (like a shoe box :)
3. Homemade
Card files/organizers

You don't have to buy something however, there are
many options for papercrafting cute files with just paper and some chipboard
(for strength).
This was a class I offered a
few years ago. It's based on a
die-cutting template (Cricut Artiste Cartridge) for a mini magazine file. Here, I've attached three together and made
birthday cards for kid, gals and guys.
You could make just one and
it would make a really set of cards for a gift.
Or you could attach even more
for more themed options.

I created this calendar/card file for a class in 2010. it was a way to record (with thumbnail
pictures) birthdays you want to remember, with envelope pockets between each
page for place for cards.
There is a lot of inspiration for home made card files on
the internet and pinterest.
4. Card Display.
Maybe you don't have that many cards to organize, or maybe
you just like to keep what you've made, it is after all, your creative endeavor
and isn't much different (just smaller) than a scrapbook page. It deserves to be seen and often is so pretty
that it can easily integrate into your home decor.
Here are a few solutions for displaying your cards.

This card (I created for Cricut magazine) needed a special
place all by itself. It was a lot of
work! I found this little doll chair
(somewhere, I can't remember, just wish I had bought more!) and is perfect for
highlighting just one card. Be patient
and keep your eye out for little card display treasures like this one.
A trendy way of displaying just one card is a floral
frog. These are heavy metal piece with
medal needles sticking up. It was
designed for floral arranging, but works really well for keeping cards upright
in place. They come is all sorts of
sizes and shapes.

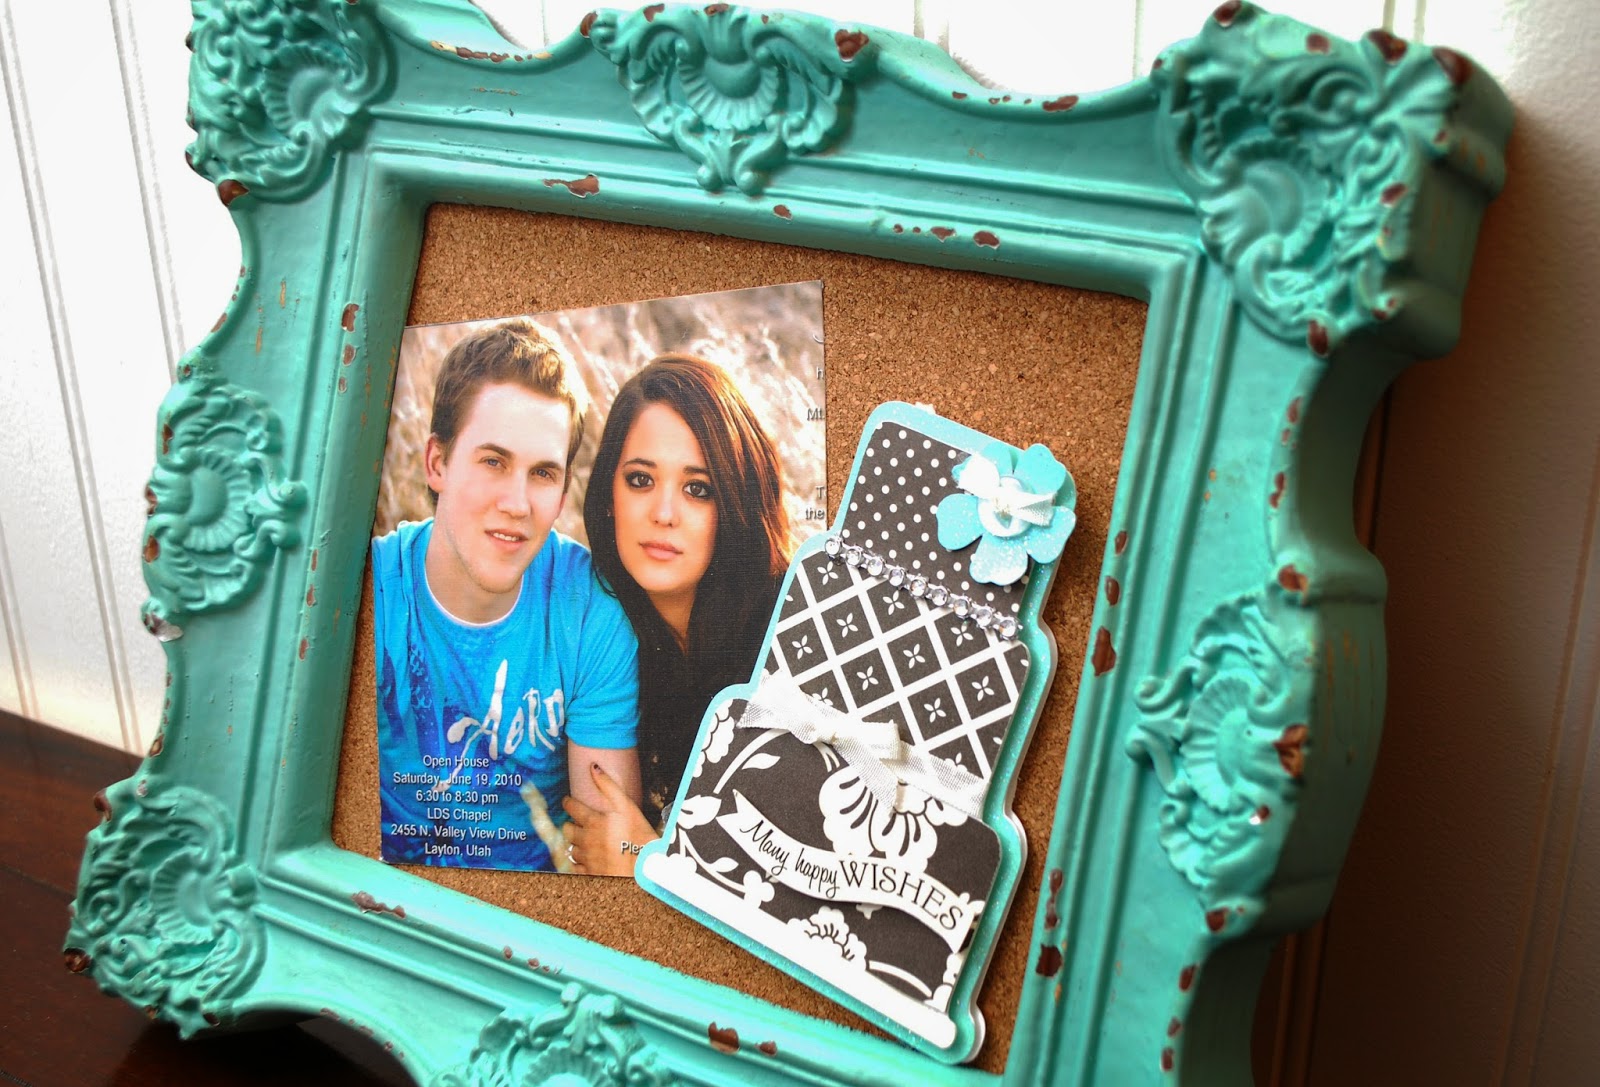 Sometimes a card has a special memory. Those need a spot all to themselves! Frame it!
I found this frame with cork at Hobby Lobby. Enough room to display not just the card but
the accompanying photo as well. I like
the cork because I can interchange what I have on display.
Sometimes a card has a special memory. Those need a spot all to themselves! Frame it!
I found this frame with cork at Hobby Lobby. Enough room to display not just the card but
the accompanying photo as well. I like
the cork because I can interchange what I have on display. If you take card making classes (like mine!), it's often
such a good feeling getting those done, you want them on display until the next
class. I found this wire Eiffel tower at
Hobby Lobby. Perfect display a collection
of cards. Look for metal home decor
pieces, they are great for displaying cards, you can either tuck them in (like
I did here) or attach them with a mini clothes pin or magnet.
If you take card making classes (like mine!), it's often
such a good feeling getting those done, you want them on display until the next
class. I found this wire Eiffel tower at
Hobby Lobby. Perfect display a collection
of cards. Look for metal home decor
pieces, they are great for displaying cards, you can either tuck them in (like
I did here) or attach them with a mini clothes pin or magnet.
Speaking of magnets, wow, how cool is the bird cage display
piece. This was designed specifically
for displaying cards as it comes with cute bird magnets that are surprisingly
strong. I found this at Michaels as
well.

5. Practical, but not
so pretty.
Ok, so you don't have the space or inclination to do
something pretty, but you still want to be organized. That's fine and there are SO many
options. I recommend visiting an office
supply store, a craft store and Ikea. I
found lots of organizational options there.

{This is housing some of my
Studio 5 projects!}

Whichever way to go, I hope you'll enjoy having those
handmade cards just a little nearer & dearer.


0 comments:
Post a Comment