Showing posts with label Cooking. Show all posts

Wednesday, January 31, 2018

Studio 5: Japanese Curry Comfort food


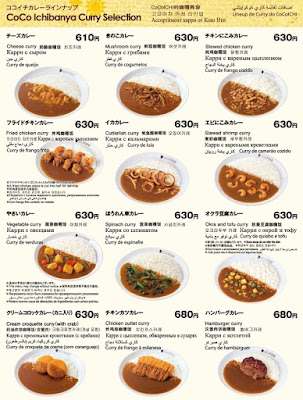
The first place our friend, Jordan, took us to eat in Kyoto, was a Japanese Curry House.  He doesn't know this (but he does now), but I was disappointed.  Curry?  In Japan?  And a franchise no less!  I was SO looking forward to all the Japanese food I love; Okonomiyaki, Yakitori, Sushi, Ramen, Shabu Shabu etc...  WHY were we here?

Of course, I humbly followed him in, because well, he had lived in Japan, had studied all things Japanese, was about to marry a Japanese girl, so clearly he knew something I didn't about Japanese food.  Duh.

You could customize whichever curry you choose (I picked Mushroom/chicken) from heat levels 1 through 10.  I asked Jordan which number it started to get hot.  He said three.  So I ordered three.  It was SO HOT, I could barely eat it, but I did, every last bite.  It was simply so delicious, I walked through the valley of lip death and enjoyed every minute!

What a food revelation!  Of course, I immediately started searching recipes and history on this curious Japanese dish with plans to eat more curry while on my trip and to make it once I was home.

Curry was most likely introduced to Japan via the Anglo-Indian officers of the British Royal Navy in the 1850's, started being served in restaurants a few decades later and then, instant curry blocks were developed in the 1950s. It is so popular in Japan that is regarded, along with Ramen, as one of the top two national dishes, ahead of sushi and miso soup!  I read that Japanese on average eat curry once a week!

So, what's the difference between Japanese curry and Indian or Thai curry?  Sweeter, thicker and normally less spicy, although obviously some Japanese like it hot!

It's typically served with sushi rice (but any rice with do) and a side of Fukujinzuke, which are Japanese pickles.  This adds a sour and crunchy aspect to the curry, but isn't necessary to enjoy Japanese curry.  Another popular restaurant version is to add a breaded, sliced pork cutlet to the dish; this is called Katsu curry.

The best part of making this dish is just how simple it is.   You can make it on your stove top or in an Instapot.  If you are using stewing beef on the stove top, you'll need a few hours to soften the meat, but if you use chicken thighs (my favorite), it can be done in a little over 30 minutes.  You could even just make your favorite stew and then add the curry blocks to keep it really simple. 

The mixture of spices is what makes this dish unique.  You can make this part from scratch, however most Japanese use the pre-made curry blocks (which include spices and roux), which are simply added to the dish once it's together.  Let it melt and combine and you'll have a silky smooth gravy with tender chunks of meat, potatoes and vegetables or whatever else you want to add.  
So, there you go, simple.  But wait...there's more, of course there is more! 
  
IF you want to dig a little deeper into this dish, you'll do as most Japanese and make it your unique version by adding a fascinating collection of ingredients.  A little bit of this, a little bit of that...can make a huge difference.  Here's a list of what some might add to the dish.  DO NOT add all of them (yikes!), but you may want to try a few of these to add more complex flavors to your curry.  I would personally recommend the grated apple (add at the beginning so it pretty much disappears), a Tbsp of Tomato paste, Cocoa powder (just a tsp), soy sauce and Togarashi to spice things up a bit (go easy, this is spicy!).

Grated apples or other fruit (Banana, mango, etc...)
Jam
Honey or sugar
Soy Sauce
Worchestershire sauce
Ketchup
Tomato Paste
Chocolate
Cocoa Powder
Cheese
Coconut milk
Milk or cream
Yogurt
Coffee
Garlic
Wine
Tonkatsu sauce (amazon or Asian store)
Chunou sauce (fruit sauce/ amazon or Asian store)
Togarashi is a pepper spice mix (amazon or Asian store)

Basic Japanese Curry with beef


1 lb stewing beef
2 Tbsp vegetable oil
1 large onion, peeled and sliced or chopped
2 cloves garlic, finely chopped
1 honey crisp apple, grated
2 large carrots, peeled and cut into chunks. (see Rangiri note below)
1 large yellow potato, peeled and cut into similar size chunks as beef.
1 tsp unsweetened Cocoa powder
1 bay leaf
2 Tbsp Soy Sauce
2 Tbsp Tomato Paste
4 cups water or 1 Quart Chicken stock
1/2 cup frozen peas
1/2 box of Japanese Curry Roux (med. hot)
*Togarashi to taste (start with just a tsp, let it cook for a few minutes and taste.  It will get hotter that longer it sits, so beware!  See below for Togarashi substitute.

Directions:  Heat oil in heavy bottomed large pot.  If beef is moist, pat with paper towels before adding to pot.  Cook beef until browned.  Remove beef and add onion to pot and cook for 10  minutes on med heat until onions are caramelized.  Add garlic, stir in and cook for 1 minute.  Add rest of ingredients except water, peas and curry roux blocks. 
Add 4 cups water, but depending on the size of your vegetables, you may need to add more.  Make sure everything in the pot is covered with water.  Bring to a simmer and cook about 10 minutes until potatoes and carrots are tender.  Add curry blocks to pot,  gently stir them in.  Let them heat up and melt into the broth.  Gently stir to combine and bring temperature up to thicken curry.

Add frozen peas last so they are bright green.
My one issue with Japanese curry is that it isn't very pleasing to the eye.  So despite not being traditional, I top my curry with sliced green onions or chives.  Japanese Pickles (Fukujinzuke) can be bright colored and add a nice sour crunch to this dish, especially if it's spicy.

Serve with a sticky rice.  Any rice will work, but I like how Sushi rice sticks to my curry.
Japanese curry is traditionally eaten with a spoon.

If curry thickens before eating, or after being in the fridge, add a little water to loosen curry.


Japanese Curry with chicken, mushrooms & sweet potato

I adore mushrooms, but Japanese mushroom are the best!  Maitake (or Hens of the woods) have a delicate and feathery texture.  Bunashimeji are just adorable!  Perfect little mushrooms that have a nutty, buttery flavor and a firm, but tender cap.  Both mushrooms hold up well in stewed curry.  You can purchase these at an Asian store.


1 lb boneless chicken thighs, cut into chunks
2 Tbsp vegetable oil
1 large onion, peeled and sliced or chopped
Pack of Japanese Mushrooms* (Maitake Mushrooms & Bunashimeji) or any mushroom
2 cloves garlic, finely chopped
1 honey crisp apple, grated
1 sweet potato, peeled and chopped into 3/4" pieces
4 cups water or 1 Quart Chicken stock
1 bay leaf
1 tsp salt
2 Tbsp Soy Sauce
2 Tbsp Tomato Paste
1/2 box of Japanese Curry Roux (med. hot)
1/4 cup milk or cream

I created this to be a mellow curry and not spicy at all, but it is flavorful.  You can easily add Togarashi to spice it up. 

Directions:  Heat oil in heavy bottomed large pot.  If chicken is moist, pat with paper towels before adding to pot.  Cook chicken until browned.  Remove chicken and add onion to pot and cook for 10  minutes on med heat until onions are caramelized.  Add garlic, stir in and cook for 1 minute.  Add rest of ingredients except water, curry roux blocks and milk/cream.

Add 4 cups water, but depending on the size of your vegetables, you may need to add more.  Make sure everything in the pot is covered with water.  Bring to a simmer and cook about 10 minutes until potatoes are tender.  Add curry blocks to pot,  gently stir them in.  Let them heat up and melt into the broth.  Gently stir to combine and bring temperature up to thicken curry.

Finish with a splash of milk or cream.  This is a common add-in in Japan (as is cheese!) and will mellow and round out the flavors.

My one issue with Japanese curry is that it isn't very pleasing to the eye.  So despite not being traditional, I top my curry with sliced green onions or chives.  Japanese Pickles (Fukujinzuke) can be bright colored and add a nice sour crunch to this dish, especially if it's spicy.

Serve with a sticky rice.  Any rice will work, but I like how Sushi rice sticks to my curry.
Japanese curry is traditionally eaten with a spoon.

If curry thickens before eating, or after being in the fridge, add a little water to loosen curry.


Togarashi (or Japanese seven spice) is quite unique and difficult to fully substitute, but in a pinch, Chili pepper, Cayenne and/or red pepper flakes will work.

Typically this blend includes ingredients like tangerine peel and dried nori (seaweed), sesame seed, poppy seeds, ginger, garlic and  szechuan peppercorns.

Half of our family loves the HOT stuff, so I usually make a batch with a good amount of Togarashi in it.


Tuesday, September 9, 2014

Studio 5: Canning Utah's Wild Fruit


There are a lot of comfort foods in the world... I'm sure you have yours. But for me a Peanut butter and jelly sandwich is tops. I thought the jam of choice would always be raspberry, that is, until my friend Heather gave me a jar of Crab Apple Jelly.


It has knocked raspberries off the pedestal! It rules! There is something about the tart sweetness of the Crab Apple Jelly combined with Peanut butter that makes my mouth water just thinking about it.

Throwing 6 cups of sugar on even the very best fruit may make it sweet but can often hide the natural flavors. I opt for low-sugar pectin recipes. It's the best of both worlds. Still sweet, but a little tart and full of that fresh fruit flavor. Not to mention lower in calories! 

You can find Crap Apples in every state, so it's not unique to Utah, but it highly under rated and largely left untended and ignored.

In fact, when you do locate a nice Crab Apple Tree, ask the owners permission to pick, but I'm almost positive they'll be happy you did!

I can tell you there is HUGE crab apple tree behind the Carl's Junior in Centerville.  Also one for the Walgreens in South Jordan.  Keep an eye out, you're bound to find them.  It's actually easiest to spot these trees once the fruit is ripe.  They will be bright red and hanging heavily on the tree.  The ripen between Mid-August and early September, depending on the weather.

Pick only unblemished fruit.  This will save you quite a bit of time cleaning and prepping them.  

The best way to extract the juice is with a juicer.  There are other, more laborious methods (you can read on the internet), but using a juicer makes super quick and less messy work of it all.  If you don't have a juice, you probably know someone who does.

The juice will have quite a bit of foam on top, skim this off.  Place in an airtight container and place in the fridge overnight.  In the morning it will have separated.  Heavier particulates will have dropped to the bottom. a little more foam on top and in between a gorgeous light pink Crab Apple juice.

Carefully skim off any remaining foam on top and then ladle off the clear juice.  Sometimes, if I disturbed the bottom part, I would just let it sit a while and it would separate again.


CrabApple Jelly

4 cups Crabapple juice (use juicer, need about 12 cups)
3 cups sugar
1 package low sugar pectin (or 3 Tbsp from the container) I used Ball brand

Pour four cups of the Crabapple juice into a pot.
Mix a quarter cup of the sugar and a package of low/no sugar pectin and add to the juice.
Bring the mixture to a full boil.  Add the remaining sugar and bring back to a full boil. Boil for one minute, stirring constantly.
Pour into six 8 oz jars.
Process in a boiling water bath for ten minutes.


Ball Jelly Maker Recipe instructions
{Because I did a Review on the Ball Jelly Maker, I've included these recipes as well}
 

Pour four cups of the crabapple juice into pot fitted with stirrer.  Make sure it is room temperature.  If it's cold, put in microwave for 1 minute or so to take the 'cool' off of it.

Sprinkle pectin over the juice and whisk a bit to dissolve (I have a rubber coated whisk to it won't hurt the Teflon coat.  If you don't have that you will want to whisk the pectin and juice in a bowl separately, then add to pot.)

Press JELLY button.  The cook time will automatically default to 25 minutes.  You can add up to 5 minutes manually if you want to).

Press ENTER

When the machine beeps (about 4 minutes in), slowly add sugar.

When timer is finished, skim off any foam and place in hot jars.  Process for 10 minutes.


Chokecherries


Last year, during labor day we were driving through the La Sal Mountains near Moab and came across a huge patch of Chokecherry bushes.


Unexpected, but thrilling!  We grabbed any bag we had in the car and picked until they were full. 


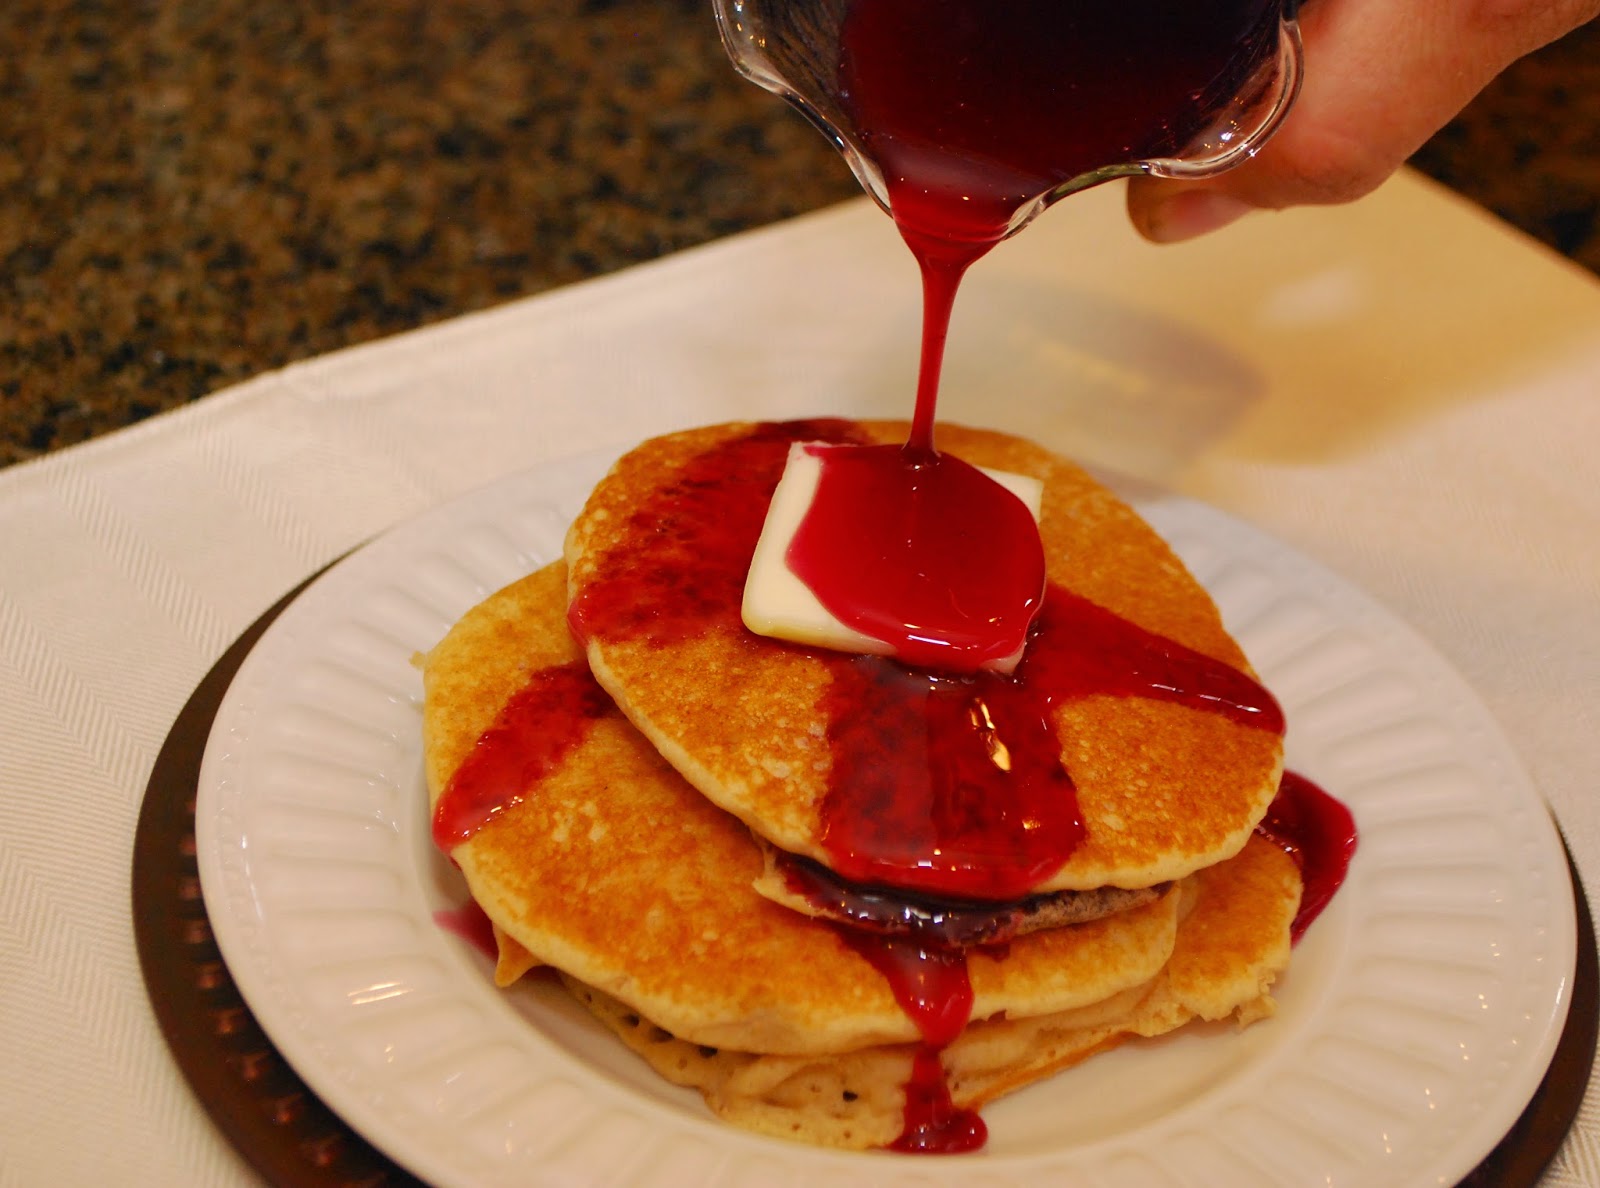
My husband processed them all at home and now we have a freezer full of syrup and jelly.


As appetizing as they look, you really can't eat Chokecherries as a fruit.  It'll dry your mouth out...hence the name.  However, add some sugar and you'll have a beautiful Garnet colored jelly and syrup that is a favorite in our house.  It still has a bit of that astringent taste to it, which makes it very unique.

Chokecherry Syrup
6 cups Chokecherry Juice (use extractor)
3 cups sugar

Add juice and sugar to large pot.  Stirring constantly, bring syrup to a rolling boil and let it boil for 1 full minute.  This will thicken your syrup… too long and it will be very thick…. not long enough and it’s too runny.  Test it.

Take syrup off the heat and add 1/2 tsp almost extract.  Skim off any foam from the surface.  Fill hot jars and process for 10 minutes (or freeze at this point).

Chokecherries are unique to the Rocky Mountains and can easily be found along roadsides.   They bloom clusters of small white flowers in the spring, which is a great way to locate the bushes ahead of time.  They ripen mid-August through Labor Day.

Prickly Pear Cactus
  
One of the few plants that has both fruit and vegetable on it.   The Nopales (green pads) can be pickled, or fried.  The fruit (or Tuna, as it's called in Mexico) is the beautiful juicy fruit that produces a unique flavor that is hard to describe.  Watermelon/berry is the closest I can get to a flavor, but even that doesn't really cover it.


There are hundreds of varieties of this plant, but all produce a beautiful 'cactus flower' in the spring (May) and is ready to harvest mid August through Labor Day.  It's a good idea to watch and check early in the season, as ripeness depends on moisture and heat.


The farther south you go in Utah, the large fruit you will be able to harvest, but we do have smaller fruit in our deserts (near Salt Lake City).

A hard plastic bucket and long pear of tongs is all you need to harvest.  Although I would recommend long pants and closed toed shoes as well (speaking from experience).

 The easiest way to get the juice from Prickly Pear Cactus is with a juice extractor.  Simply put the fruit in the basin, boil water underneath and watch the stunning Magenta colored juice pour out.  It makes a beautiful jelly but a delicious Lemonade as well.

Because we were too late in the season to get ripe fruit I ended up at one of the many Mexican grocery stores in Utah.  They'll carry the fruit (without spines!) towards the end of summer, which is it's season.  Prices range from .69 to .99 a lb.  Of course, you won't get the same satisfaction as finding your own, but it's good in a pinch! :)


Low Sugar Prickly Pear Jelly
 
4 cups prickly pear juice (requires approx. four pounds of fruit)
1/2 cup lemon juice
3 cups sugar
1 package low sugar pectin (or 3 Tbsp from the container) I used Ball brand


Pour four cups of the prickly pear juice into a pot and add a half cup of lemon juice.
Mix a quarter cup of the sugar and a package of low/no sugar pectin and add to the juice.
Bring the mixture to a full boil.  Add the remaining sugar and bring back to a full boil. Boil for one minute, stirring constantly.
Pour into six 8 oz jars.
Process in a boiling water bath for ten minutes.


Ball Jelly Maker Recipe instructions

Pour four cups of the Prickly Pear juice and Lemon Juice into pot fitted with stirrer.  Make sure it is room temperature.  If it's cold, put in microwave for 1 minute or so to take the 'cool' off of it.

Sprinkle pectin over the juice and whisk a bit to dissolve (I have a rubber coated whisk to it won't hurt the Teflon coat.  If you don't have that you will want to whisk the pectin and juice in a bowl separately, then add to pot.)

Press JELLY button.  The cook time will automatically default to 25 minutes.  You can add up to 5 minutes manually if you want to).

Press ENTER

When the machine beeps (about 4 minutes in), slowly add sugar.
When timer is finished, skim off any foam and place in hot jars.  Process for 10 minutes.


Prickly Pear Lemonade
 
A few years ago I did a segment on Cool, Creative Lemonades.


For this recipe, I followed my easy basic Lemon Simple Syrup (follow the link to get it).

1 part Lemon Simple Syrup
1 part Prickly Pear Juice
2 parts cold water
Ice

Enjoy!

Q's Creative Card Classes's Fan Box

Contact Me

Favorite Quote

"The art of being
HAPPY lies in the
POWER of extracting
happiness from
COMMON things."
~Henry Ward Beecher

Subjects


Q's Creative Card Making Kits | Creative Commons Attribution- Noncommercial License | Dandy Dandilion Designed by Simply Fabulous Blogger Templates

01 09 10